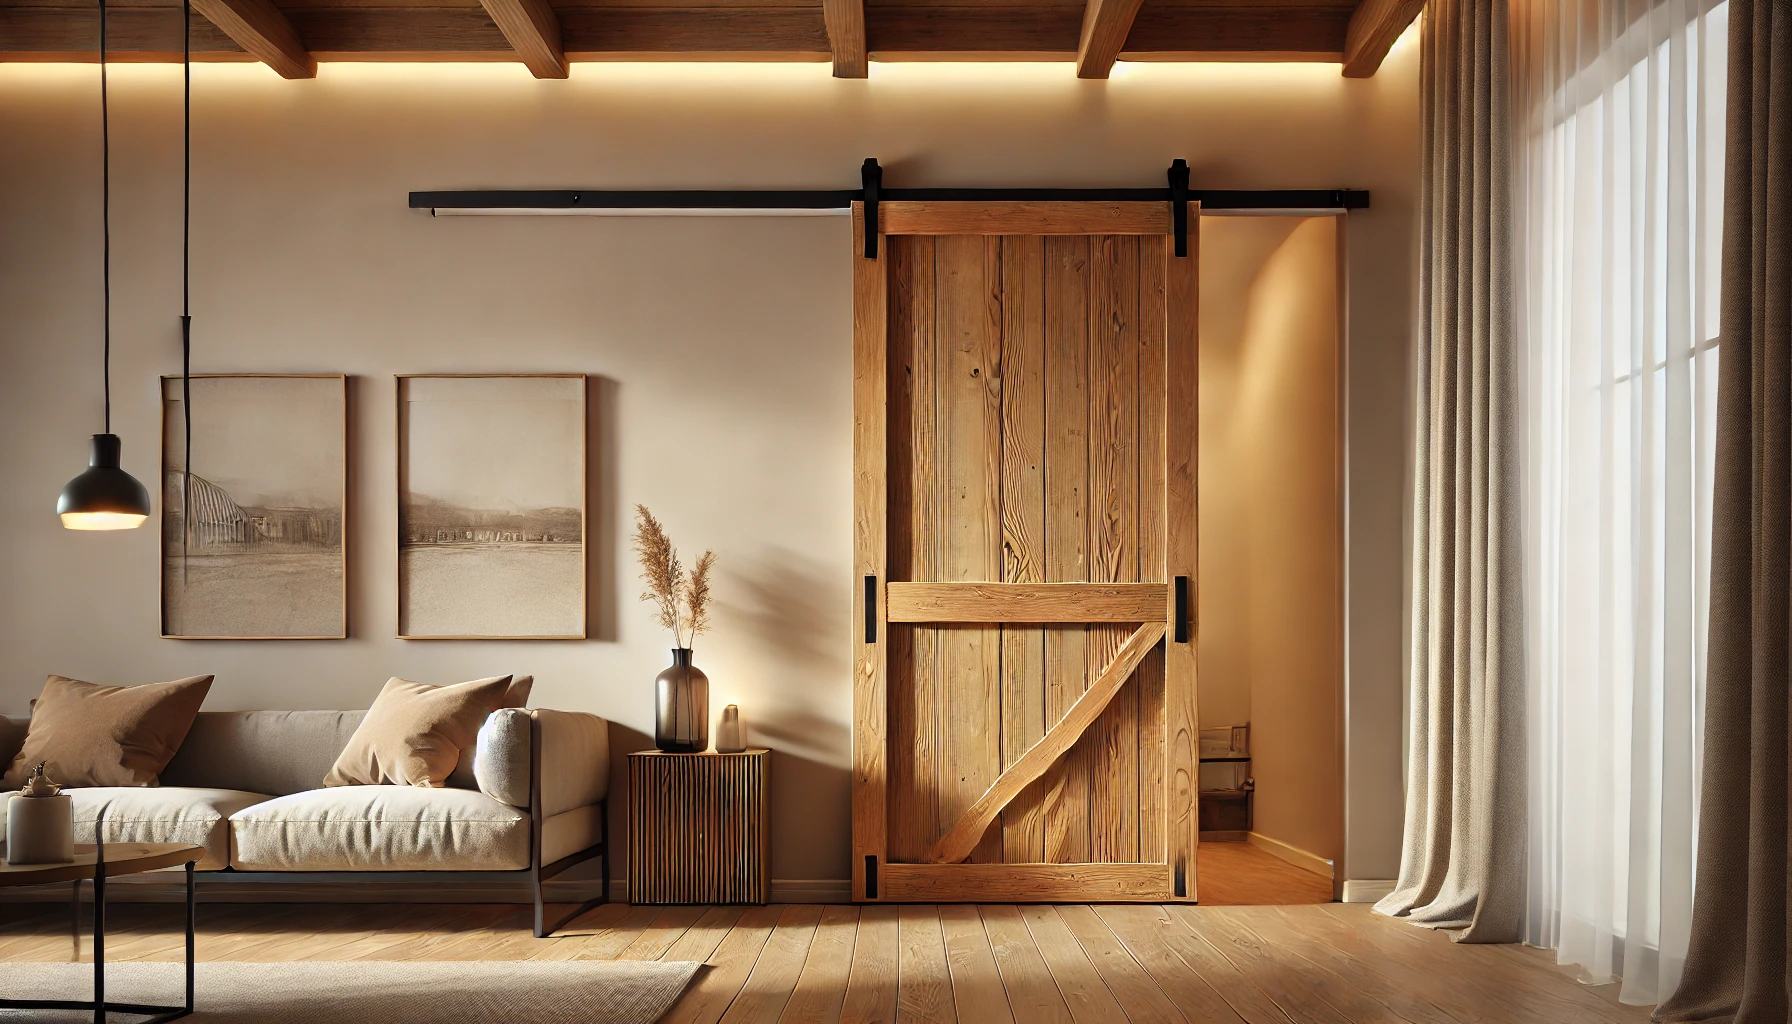
Is your home missing that final modern rustic accent? Installing a DIY sliding barn door could be the perfect touch to bring unique style and functionality to your space.
This guide covers everything needed for your sliding barn door installation, from crafting the door to attaching hardware and final adjustments.

What Are the Basics of Building a DIY Sliding Barn Door?
Building your own sliding barn door starts with gathering the right materials, choosing a design, and planning the dimensions. Here’s a breakdown of the initial steps:
- Select Your Design and Gather Plans: Choose a style that complements your home—whether rustic wood, painted, or stained. Look for free DIY barn door plans online to simplify your approach, as these plans often provide accurate measurements and material lists.
- Gather Your Materials: For a standard barn door, you’ll need:
- Wooden planks or a pre-made wooden door slab
- Sandpaper or sander for finishing
- Stain, paint, or clear sealant
- Screws, wood glue, and hinges (if creating from scratch)
Hardware kits for barn doors are widely available and often include the rail, rollers, and fasteners needed for a smooth installation. - Measure Your Space: Measure the width and height of your doorway and allow for extra width to overlap the door frame. Typically, a sliding barn door should be at least two inches wider than the doorway to provide complete coverage.
- Cut and Assemble the Door: Using your selected plans, cut the wood to the proper dimensions. Assemble using wood glue and screws as needed. Sand the entire surface until smooth, then apply paint, stain, or sealant based on your desired finish. Let it dry thoroughly before moving to the installation stage.
How Do You Install the Sliding Hardware?
Once your door is built, it’s time to install the sliding track and mount the door to the wall. Here’s a step-by-step guide to installing barn door hardware:
- Find the Studs and Mark Drill Holes: Use a stud finder to locate studs above your doorframe. Most barn door tracks need to be installed directly into studs to handle the door’s weight. Mark the drill holes according to the hardware instructions.
- Install the Track: Drill holes in the wall and mount the track using screws, ensuring it’s level. The hardware kit usually includes spacers to keep the track properly positioned away from the wall, allowing the door to slide smoothly without scraping.
- Attach the Rollers to the Door: Affix rollers to the top of the door, using the holes in your hardware kit as guides. Tighten securely to avoid wobbling once the door is mounted.
- Hang the Door: Carefully lift the door and attach it to the track by aligning the rollers. Test to ensure smooth movement along the track. If there are any bumps or resistance, check the roller alignment and spacing.
What Tools and Tips Make the Installation Process Easier?
Having the right tools on hand can streamline your installation and reduce common issues:
- Level and Measuring Tape: These tools are essential for getting accurate measurements and ensuring that the track is perfectly straight.
- Cordless Drill and Impact Driver: Drilling into studs and securing the track often requires power tools. An impact driver can help ensure screws are set tightly.
- Stud Finder: This tool makes it easy to locate studs without guesswork, preventing hardware from coming loose over time.
Tips:
- Double-Check Measurements: Always remeasure before drilling into walls or assembling the door. Small discrepancies can impact how well the door fits and slides.
- Protect Against Door Swing: Install door stoppers on both ends of the track to prevent the door from sliding off the ends.
- Install a Floor Guide: A floor guide keeps the door from swaying, particularly if it’s a lightweight or thinner door.
What Finishing Touches Can Make the Door Even More Stylish?
A DIY barn door is functional, but thoughtful finishing touches can enhance its rustic appeal:
- Add Handle or Latch Hardware: Door handles or pulls add charm and make it easier to move the door. Choose a handle that fits the overall decor, whether minimalist metal or an ornate iron option.
- Customize with Patterns or Colors: Paint or stain the door to blend with or stand out in the room’s design. Adding a herringbone or cross-panel pattern can also create a more striking look.
- Consider Soft-Close Mechanisms: Some barn door kits include a soft-close mechanism that slows the door as it reaches the end of the track. This adds a premium feel and protects the door from damage.
Conclusion
Building and installing a DIY sliding barn door adds personality and functionality to any room. By following these steps and tips, you can complete the project confidently and achieve that rustic yet modern look. Now, with the right tools, free DIY barn door plans, and a bit of patience, you’re ready to bring a stylish upgrade to your home.